8 Import Rules to Follow
Story by Cheri Woodsmall
She certainly is taking her time, but we know she is coming…eventually. Spring can be a fickle little season here in the Midwest and trying to navigate around the weird weather we’ve been having isn’t easy when it comes to prepping your garden. Before you begin planting in the spring, here is a checklist of the 8 steps you should take to prepare your garden for a successful season.

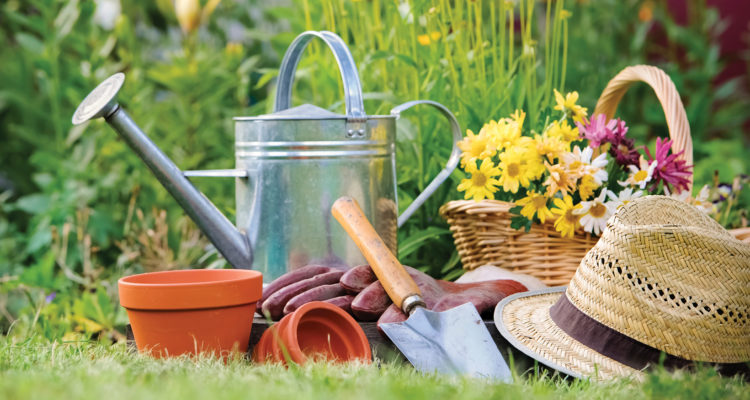
1… Organize Your Shed and Tools
Don’t make the mistake of starting to dig before you take inventory of your tools and supplies. Sharpen blades, oil hinges, and think about expanding or upgrading your collection. Use a mill file to sharpen blades, then add penetrating oil to remove and prevent corrosion. You would be surprised how much easier it is to dig or cut with a sharp, well-oiled spade! Use mineral spirits on wood handles. The mineral spirits will help prevent the wood from splintering. The right tools will make the whole season much easier!
You should also take this opportunity to replenish your supplies. Make sure you have enough fertilizer and soil amendments on hand.
Finally, if you have one – clean your greenhouse! Your greenhouse needs a good thorough cleaning before all your young plants take up residence. It might be cold outside, but this spares you the need to do it later. Eliminate old debris, clean off shelves, sweep out soil remnants, and wash the clear surfaces so light easily penetrates.

2… Clear Out Weeds, Mulch and Debris
This is one of my favorite things to do after a long winter, but most people aren’t fans of this chore. Clearing out all the fallen branches and debris from the lawn. It’s not the easiest task, but take your wireless speaker out on the deck, crank up the tunes and enjoy the day! It makes it SO much more tolerable. Do a spring cleaning of the area, removing anything in the way until you are back to the bare soil. Dead organic matter can go on the compost pile to break down. Well-composted mulch or organic matter can stay right where it is to be incorporated into the soil, but “fresh” mulch needs to be raked away to expose the soil. And don’t you just LOVE the look of the clean lawn when you’re done?
See some pesky weeds? Say buh-bye!! These MUST be removed from the soil and either burned or placed in the middle of a working compost pile where the heat will kill it before any seeds can germinate. You don’t want to leave any living weeds around, or they might come back and try to compete with your garden plants!
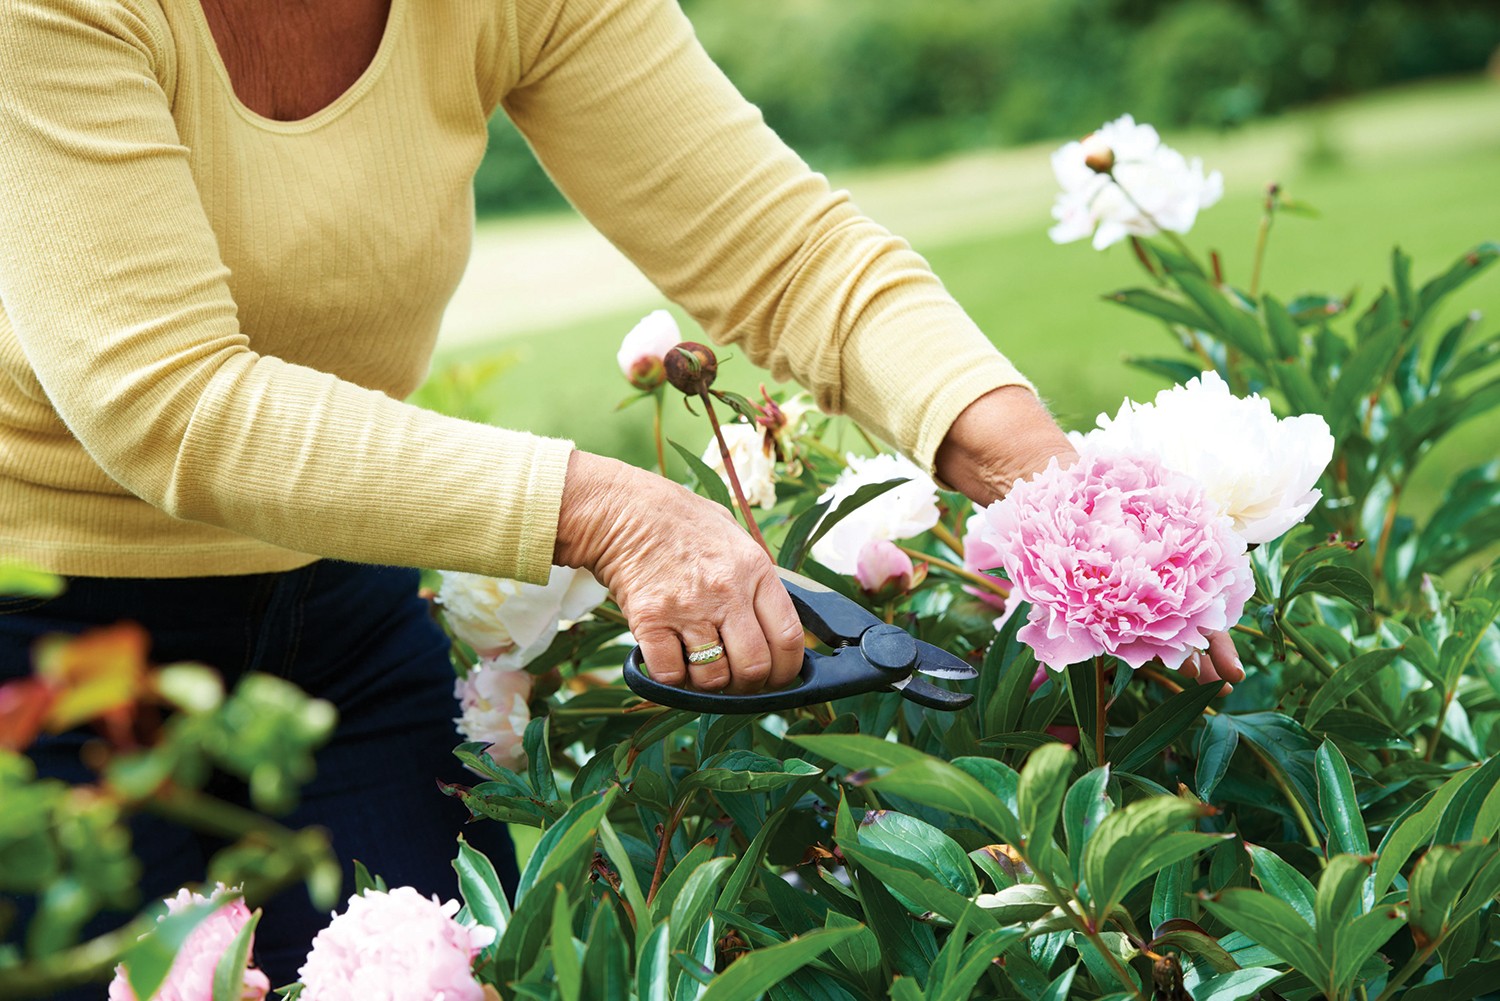
3… Prune Like a Pro
It’s time to bust out those amazing new floral gardening gloves that you fell in love with last year! Many trees or shrubs can use a good pruning this time of year, especially those that bloom on new wood. Early spring is the perfect time to prune back old wood because you can see the branch structure well and you can shape the plant before the buds break dormancy and the plant starts investing energy in its branches.
Before you go snip-happy though, there are a couple of things to consider. First you should use a clean rag and some isopropyl alcohol to sterilize your pruners before each cut. This precaution keeps you from inadvertently spreading plant disease all around the garden. You wouldn’t want a surgeon cutting into you without sterilizing the blade first, would you? Secondly, there are many plants that you should NOT prune at this time of year because they bloom on old wood. Reach out to the Johnson County Extension Office for advice on plants that you should wait until after the bloom season to prune. They are an excellent resource for all things lawn and garden!
Some plants may need division. If you haven’t divided a plant for 2-3 years, it’s time to consider doing so. Not only does dividing provide you with new plant starts that you can plant elsewhere, but it helps keep your older plants healthy, as they have ample room to grow and spread.
Finally, if there are any shrubs you’ve been meaning to move, now’s the time to do it. Prepare their new location in advance, then carefully dig them out, being sure to get all their root structure. This process can be slow but is well worth it later once the plants have become established in their new location.
Whenever you prune your plants, it is a good practice to add a little fertilizer to the soil to ensure that the plant has the nutrients on hand to heal its wounds quickly.

4… Prepare the Soil
Now it’s time to get your hands dirty. Once the frost has lifted and the soil is workable, start preparing your garden beds. In winter, soil tends to become compacted, so the first thing you want to do is loosen it back up by tilling or turning it. Using a tiller or a sharp spade, work the soil to a depth of 12 to 14 inches to loosen it up. Any mulch or leaf litter that is well-composted should be mixed right in, but if it is too fresh, you should remove it first.
Next add compost and amendments. Much soil around here tends to be quite rocky and clay based, so it is a bit more difficult for flowers to flourish. Dig up a good six inches and mix it with a hearty compost. It makes a world of difference.
If your existing soil is particularly poor, the easiest option might just be to rise above it with a raised garden bed.
5… Set Up New Planters & Garden Beds
Did you go a little crazy buying a bunch of beautiful new plant varieties you saw? No worries! Now is the time of year to build garden beds, install shepherd’s hooks or window boxes, and buy new pots to ensure that you have enough of a venue to showcase all your gorgeous new plants.
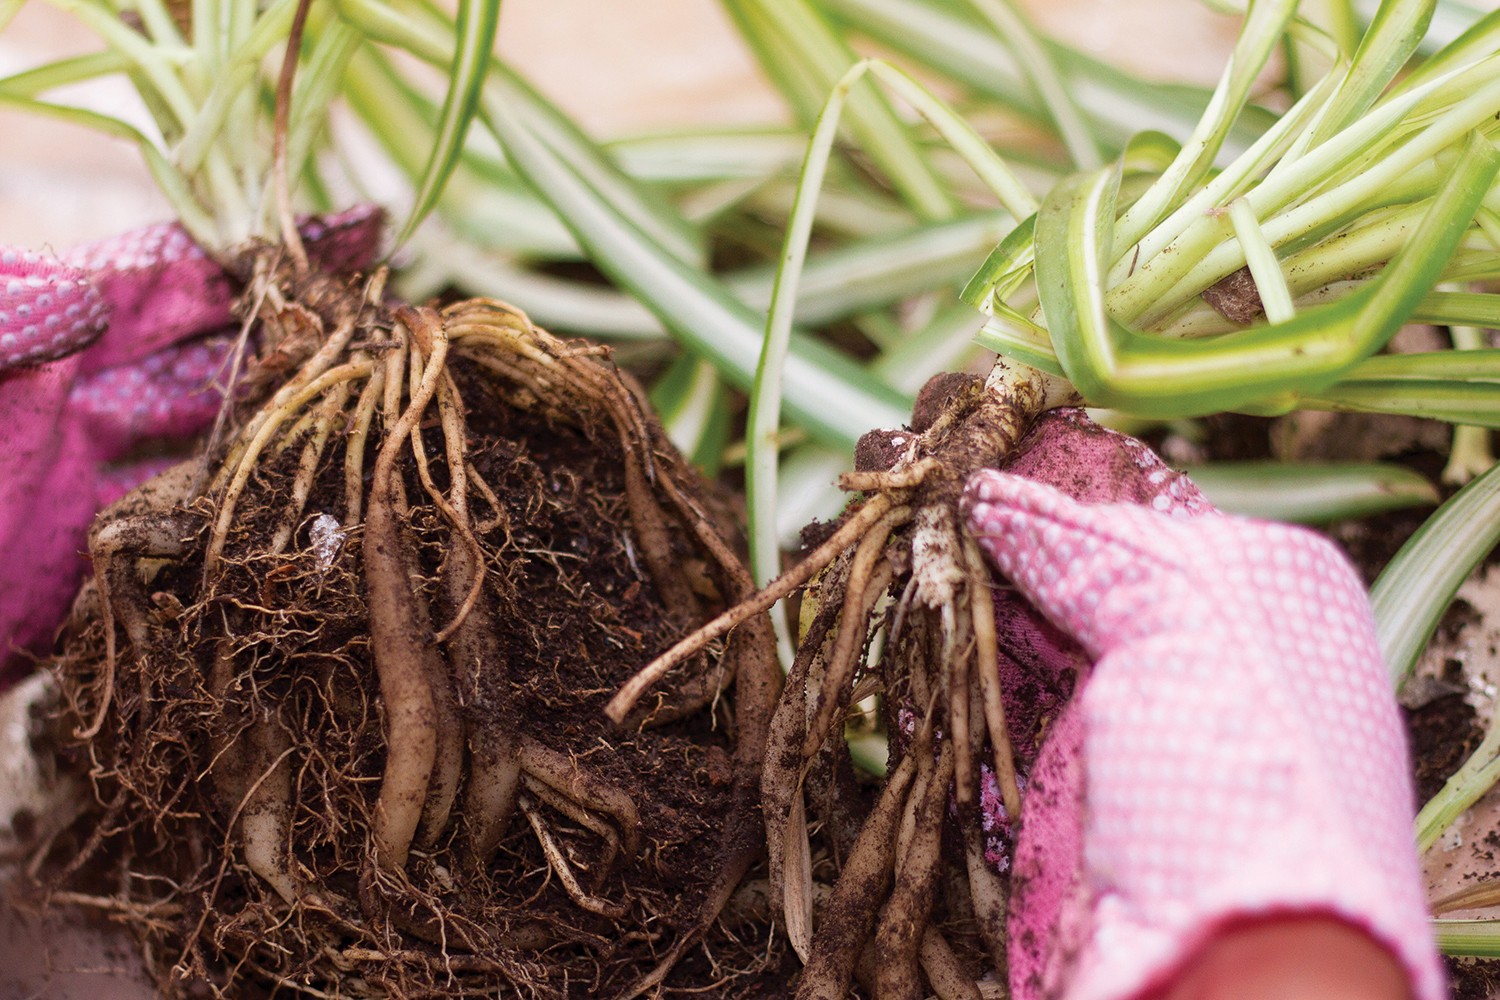
6… Divide Perennials & Moving Shrubs
Pat yourself on the back for a job well done last year! Those perennials were huge! In early spring when they are just beginning to pop up, divide and transplant any perennials that have outgrown their space or grown large enough to split, if desired. In most cases, it’s best to divide and move perennials in the opposite season of when they bloom. That means moving summer and fall blooming perennials in spring, and spring blooming perennials in fall. This avoids disrupting their bloom cycle.
Evergreen shrubs can be moved in early spring before their new growth appears or in early fall to give them enough time to re-establish their roots before winter. Deciduous shrubs can be moved almost anytime they are not in bloom and the weather is mild, but generally spring and fall are the preferred seasons for transplanting. If you move them while they are dormant, there will be less stress on the plants and they will be more likely to spring back into action quickly.

7… Early Planting
Get the first wave of planting done. Many plants can be started indoors this time of year for planting out in spring, and particularly hardy vegetables (onions, potatoes, artichokes, and some lettuces) are ready to be planted now. Look at the plant information for whatever you intend to plant.
Bulbs and Perennials tend to be straightforward to plant — it’s really just dig, drop, done! Dig the hole at the proper depth and spacing, add any soil amendments necessary, add the bulb/root ball and be sure that the crown is right at soil level, then fill in the hole and water thoroughly.
8… Be Ready to Cover
Let’s face it — we are in an area where late spring frosts and freezes are not only a possibility, but VERY likely. Be prepared to cover up plants that have tender emerging buds or foliage if freezing temps are in the forecast. If the buds haven’t begun to open yet, there’s no need to cover them.
Old sheets and towels that have been relegated to the rag pile are a good option, and professional row cover is available for purchase, too. But don’t cover tender plants with plastic sheeting or tarps. The effect of the plastic touching the newly emerging buds and foliage will magnify the cold’s effect, rather than mitigate it.